> For the complete documentation index, see [llms.txt](https://docs.flosum.com/llms.txt). Markdown versions of documentation pages are available by appending `.md` to page URLs; this page is available as [Markdown](https://docs.flosum.com/global-settings/security/connected-apps/creating-a-connected-app-for-mcp-access.md).
# Creating a Connected App for MCP Access
{% hint style="success" %}
#### Required User Credentials
\[**Flosum User**] - **SystemAdministrator** Role
{% endhint %}
{% hint style="warning" %}
#### Beta
The DevOps and Backup & Archive MCP servers are in beta. The Connected App setup in this article may change, and this documentation may not reflect the latest changes to the servers.
{% endhint %}
##  Overview
This article shows you how to create a Connected App and get the **Client id** and **Client secret** values for the DevOps and Backup & Archive MCP (Model Context Protocol) servers. AI assistants, such as ChatGPT and Claude, use these values to connect to an MCP server and work with your DevOps or Backup & Archive data.
{% hint style="info" %}
#### One Connected App for All Users
Your tenant needs only one Connected App for MCP access. It serves both the DevOps and Backup & Archive MCP servers, and every user connects through it. Each user signs in with their own Flosum user when they connect an AI assistant, so the assistant connects to the MCP server as the user who signed in, not as the user who created the Connected App.
{% endhint %}
## Create Connected App
{% stepper %}
{% step %}
### Access Global Settings
1. From any **Flosum Cloud App**, click the **App Switcher** icon at the top of the left sidebar menu.
2. Click **Global Settings**.
3. The **Global Settings** app will open in a new tab.
{% hint style="info" %}
Global Settings can also be accessed by logging in directly via the Flosum Cloud Apps Login URL. See the following article for login instructions.
* [Log In To Global Settings](https://docs.flosum.com/global-settings/getting-started/log-in-to-global-settings.md)
{% endhint %}
{% endstep %}
{% step %}
### Create a New Connected App
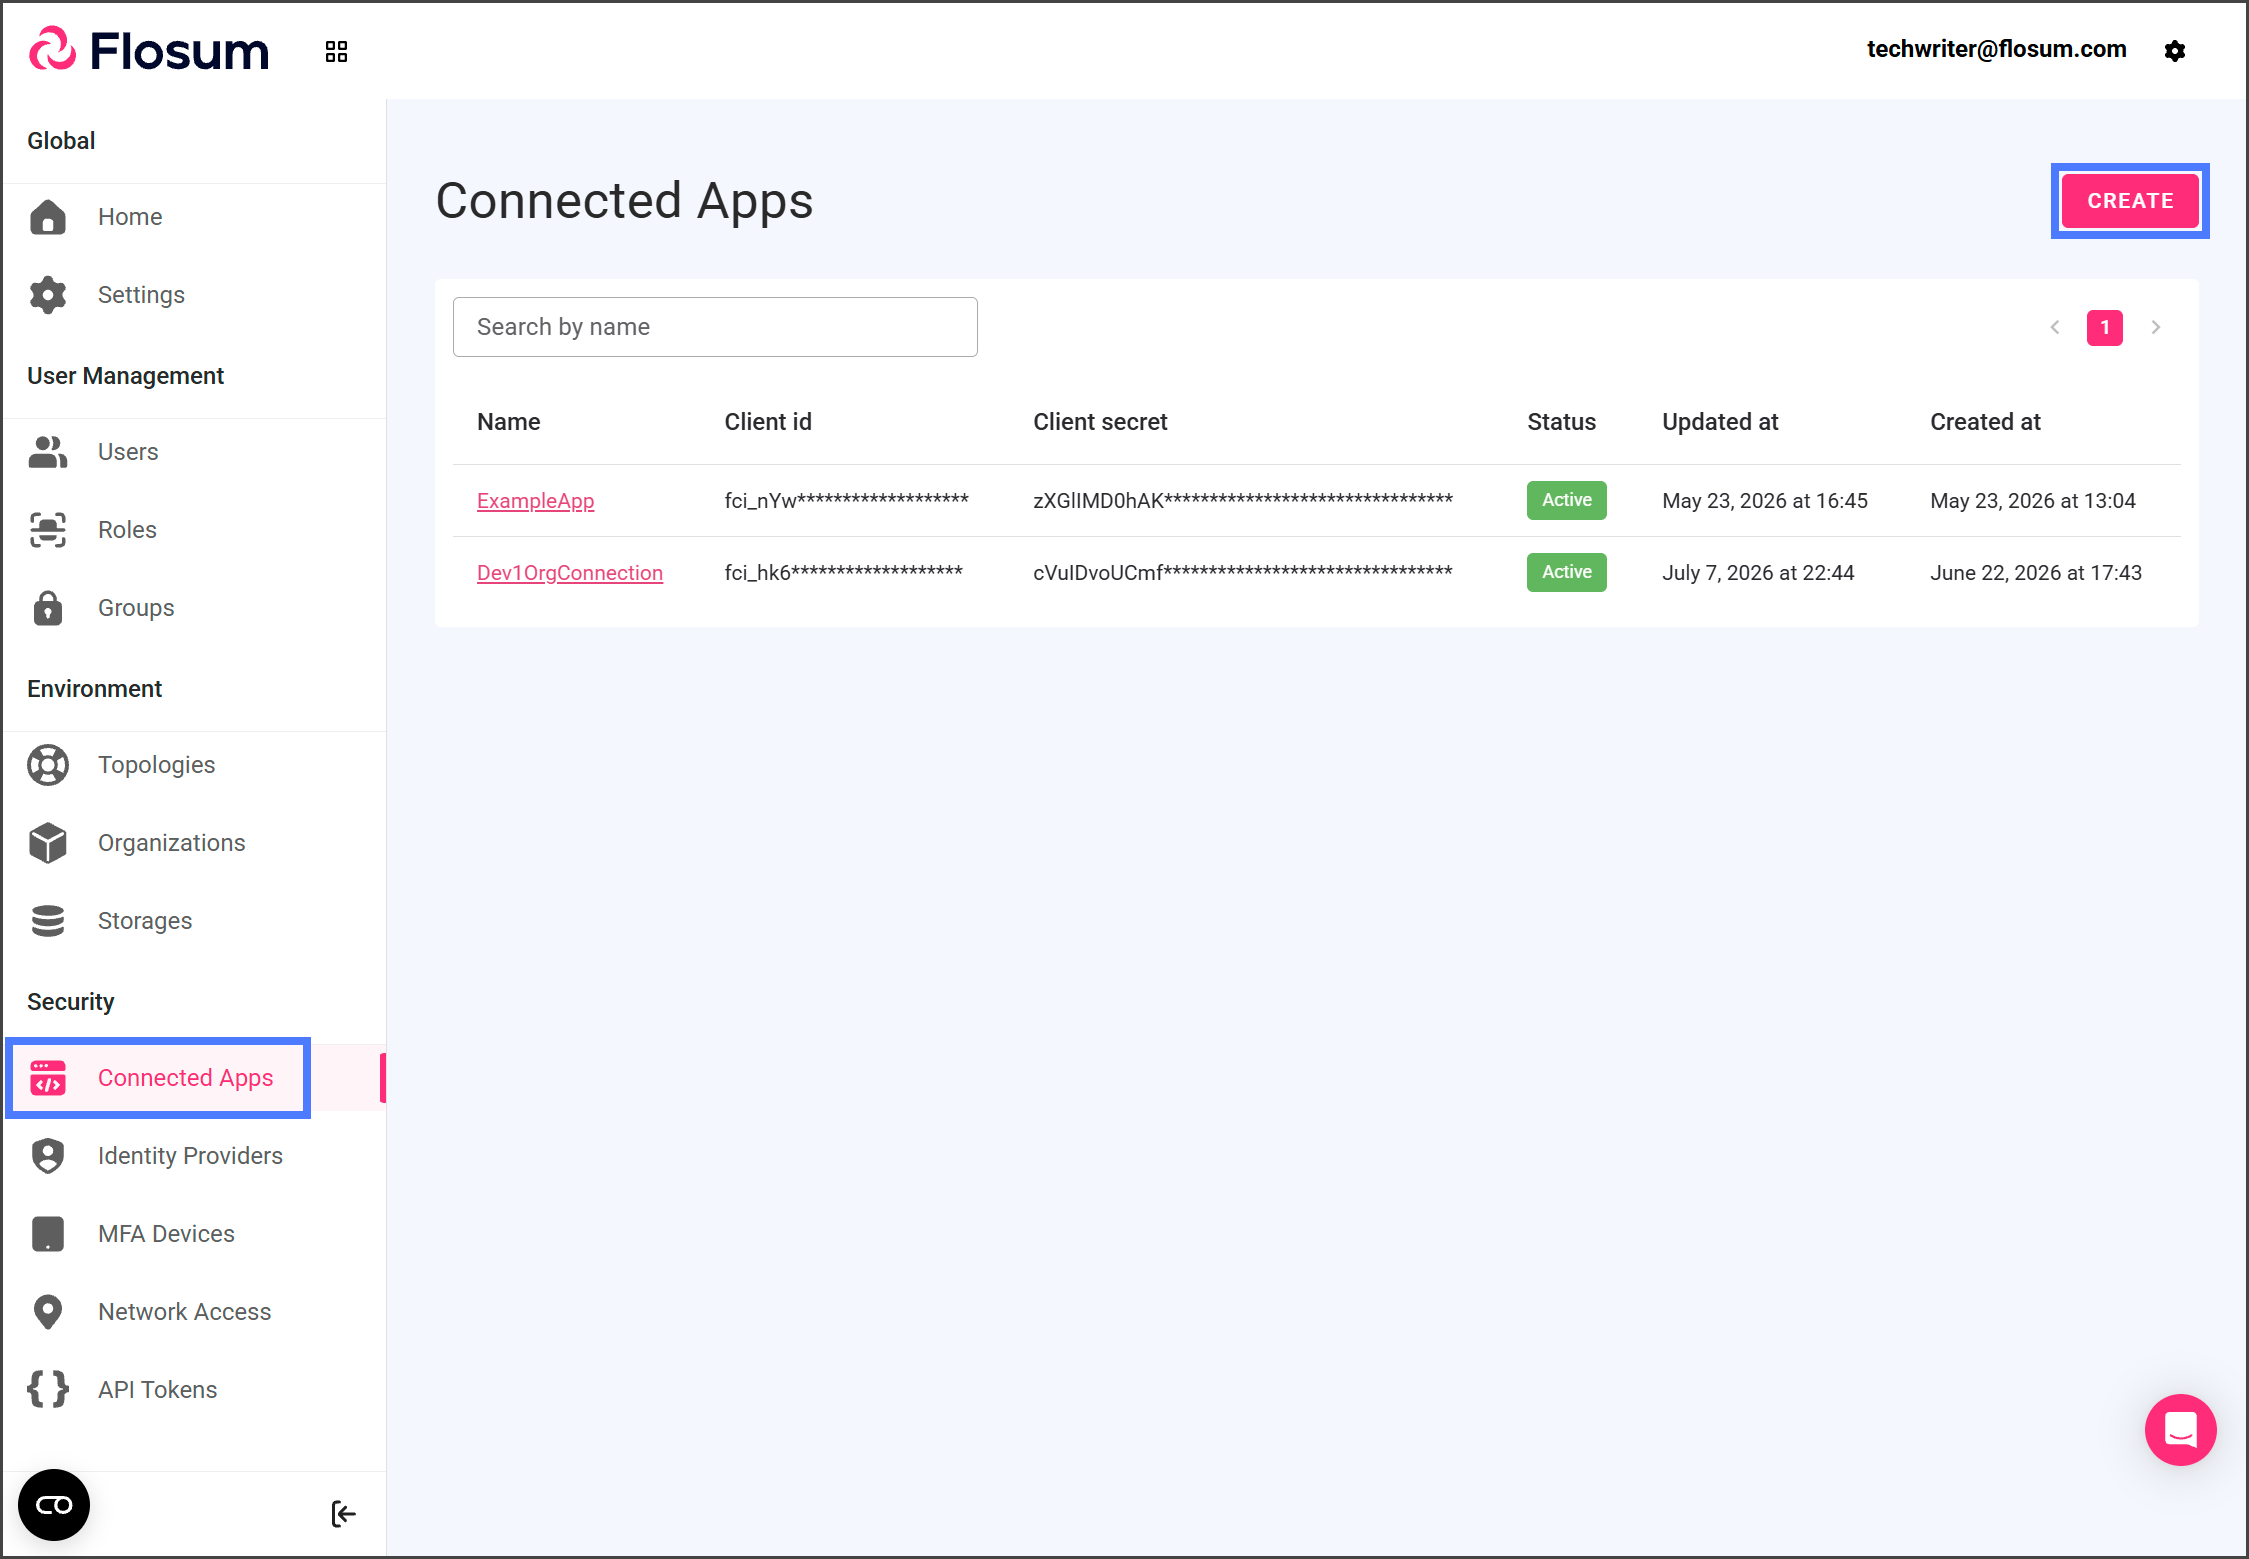
1. Click **Connected Apps** from the left sidebar menu.
2. Click **Create**.
3. Enter a **Name** for your Connected App.
4. Click **Create**.
{% endstep %}
{% step %}
### Configure the Connected App
1. Click the Connected App you just created.
2. Click **Edit**.
3. Click the **Authentication flows** dropdown menu.
4. Check the **Authorization code** checkbox.
5. Check the **Refresh token** checkbox.
6. In the **Refresh token lifetime** fields, enter the lifetime to use for the token. See the hint below for more details.
{% hint style="info" %}
#### Refresh Token Lifetime
The **Refresh token lifetime** sets how long users stay connected. It counts from when a user signs in, not from when they last used their AI assistant. For example, with a lifetime of 30 days, users sign in again every 30 days, even if they use their AI assistant every day.
Flosum recommends 30 days. If your security policy requires it, you can set a shorter lifetime. The value must be between 5 minutes and 365 days.
Leave **Access token lifetime** at 5 minutes. When the access token expires, the connection uses the refresh token to get a new one without asking the user to sign in again.
{% endhint %}
{% hint style="info" %}
#### Callback URLs
Leave **Allowed callback URLs** empty for now. Each AI provider supplies its own callback URL, and a SystemAdministrator adds it with **ADD URL** when that provider is connected. One Connected App can hold the callback URLs for several AI providers and MCP servers. The following articles include this step.
* [Connecting ChatGPT to the DevOps MCP Server](https://docs.flosum.com/devops/mcp-server/connecting-chatgpt-to-the-devops-mcp-server.md)
* [Connecting Claude to the DevOps MCP Server](https://docs.flosum.com/devops/mcp-server/connecting-claude-to-the-devops-mcp-server.md)
{% endhint %}
7. Click **Save**.
{% endstep %}
{% step %}
### Copy Client ID and Client Secret
You enter the **Client id** and **Client secret** when you connect an AI assistant to each MCP server. You can copy these values from your Connected App.
1. Click the **Client id** field to copy this value.
2. Save the copied value.
3. Click the **Client secret** field to copy this value.
4. Save the copied value.
{% hint style="warning" %}
#### Sharing the Client Secret
Any user can log in to Global Settings and copy the **Client id** and **Client secret** from this Connected App. Rather than sending the **Client secret** to users, tell them the name of the Connected App so they can copy the values themselves. Do not share the **Client secret** in chat messages or screenshots.
{% endhint %}
{% endstep %}
{% endstepper %}
---
# Agent Instructions
This documentation is published with GitBook. GitBook is the documentation platform designed so that both humans and AI agents can read, navigate, and reason over technical content effectively. Learn more at gitbook.com.
## Querying This Documentation
If you need additional information that is not directly available in this page, you can query the documentation by asking a question.
Perform an HTTP GET request on the following URL with the `ask` and `goal` query parameters:
```
GET https://docs.flosum.com/global-settings/security/connected-apps/creating-a-connected-app-for-mcp-access.md?ask=&goal=
```
`ask` is the immediate question: it should be specific, self-contained, and written in natural language.
`goal` is what the user is ultimately trying to achieve, the reason they need the answer. Sharing it helps GitBook give you a better, more relevant answer. A goal is most helpful when it describes the outcome the user wants rather than restating the question. For example, with `ask=how do I create an API token`, a goal like `automate deployments from our CI pipeline` lets GitBook tailor the answer to that use case.
The response will contain a direct answer to the question and relevant excerpts and sources from the documentation.
Use this mechanism when the answer is not explicitly present in the current page, you need clarification or additional context, or you want to retrieve related documentation sections.