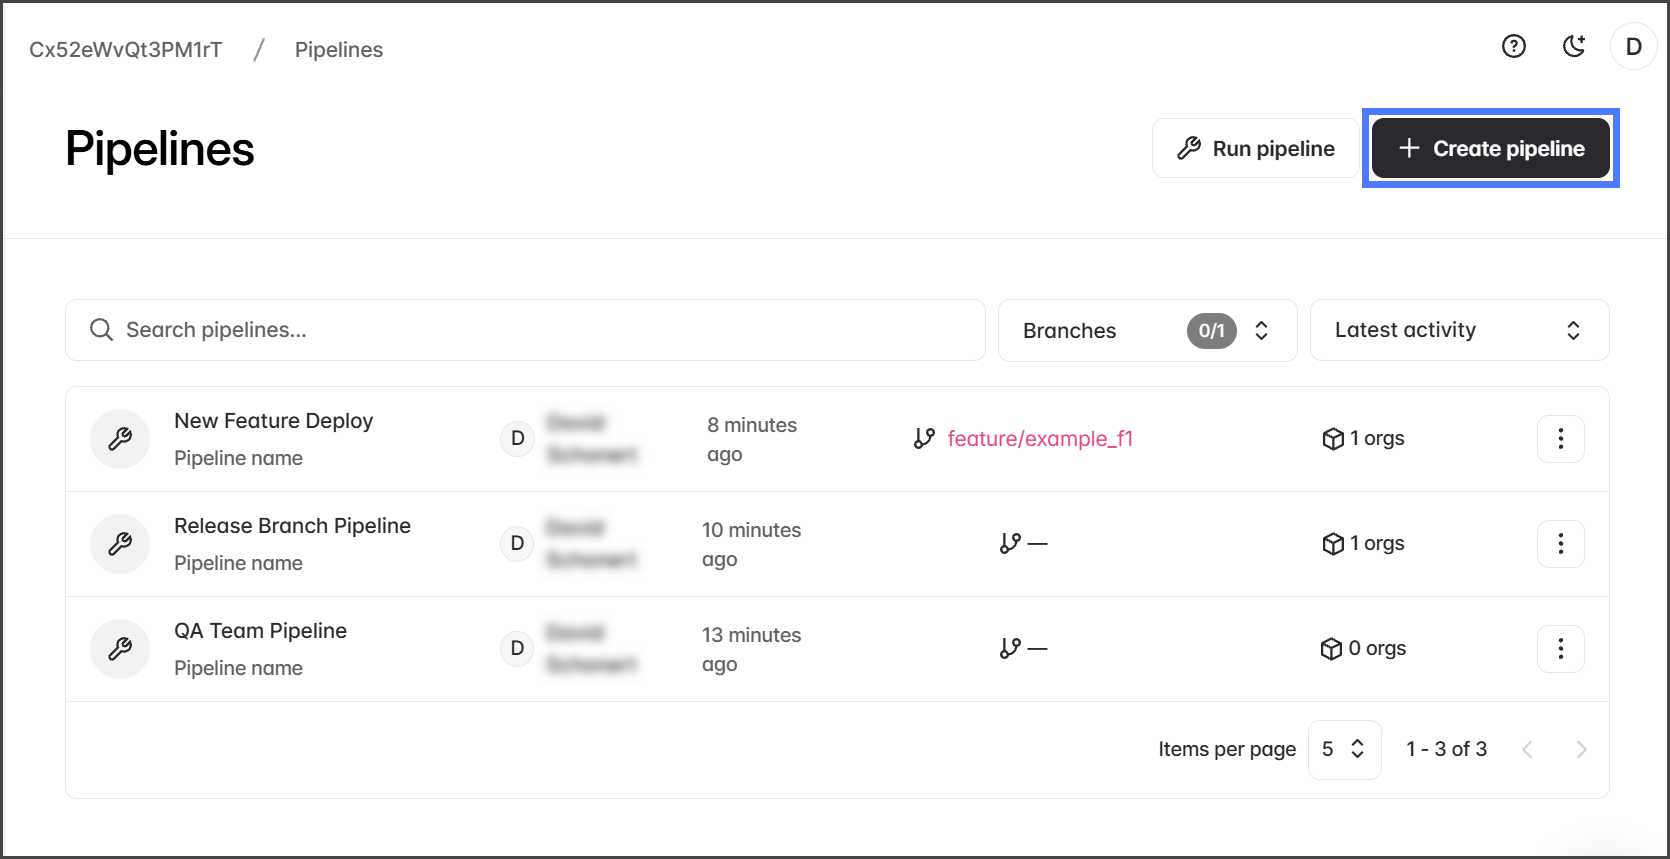
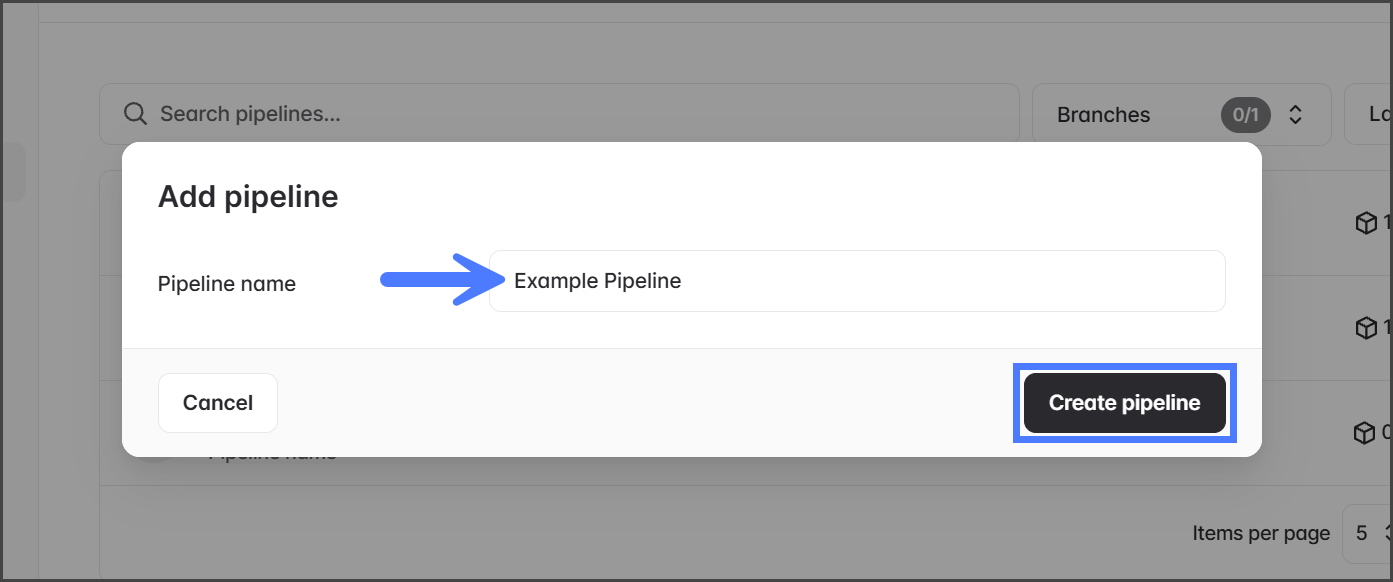
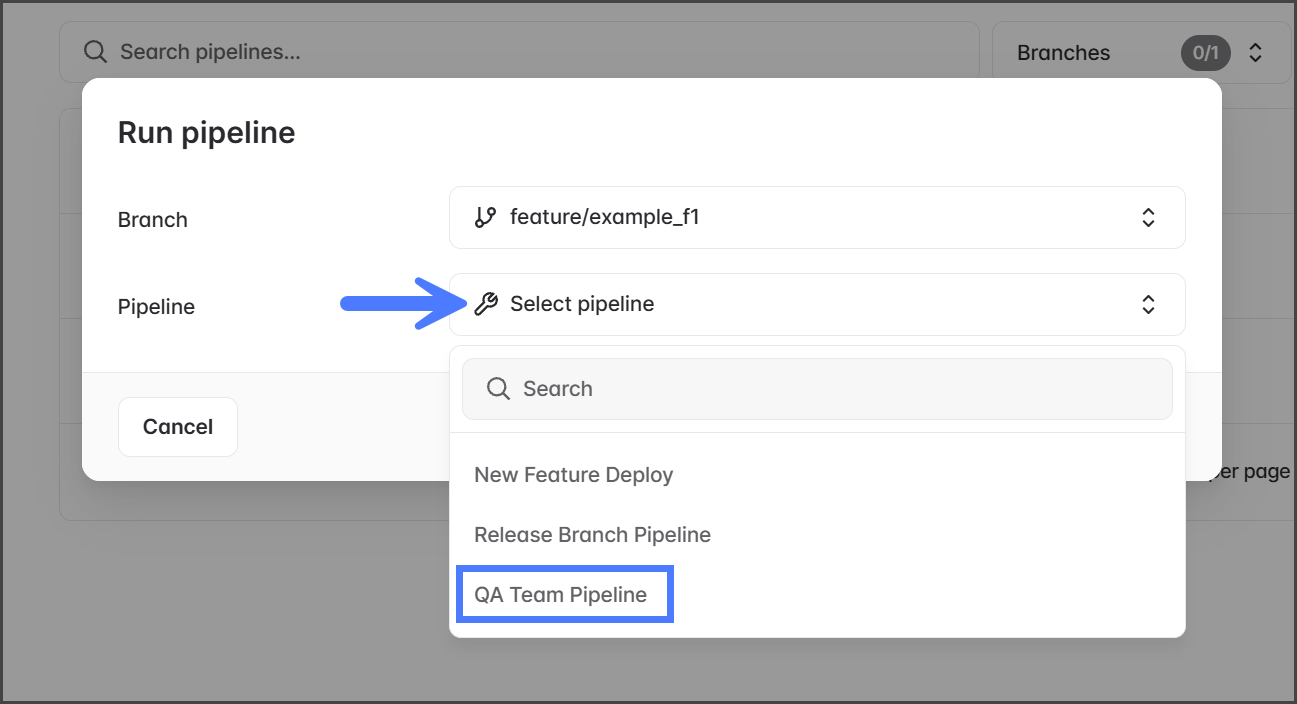
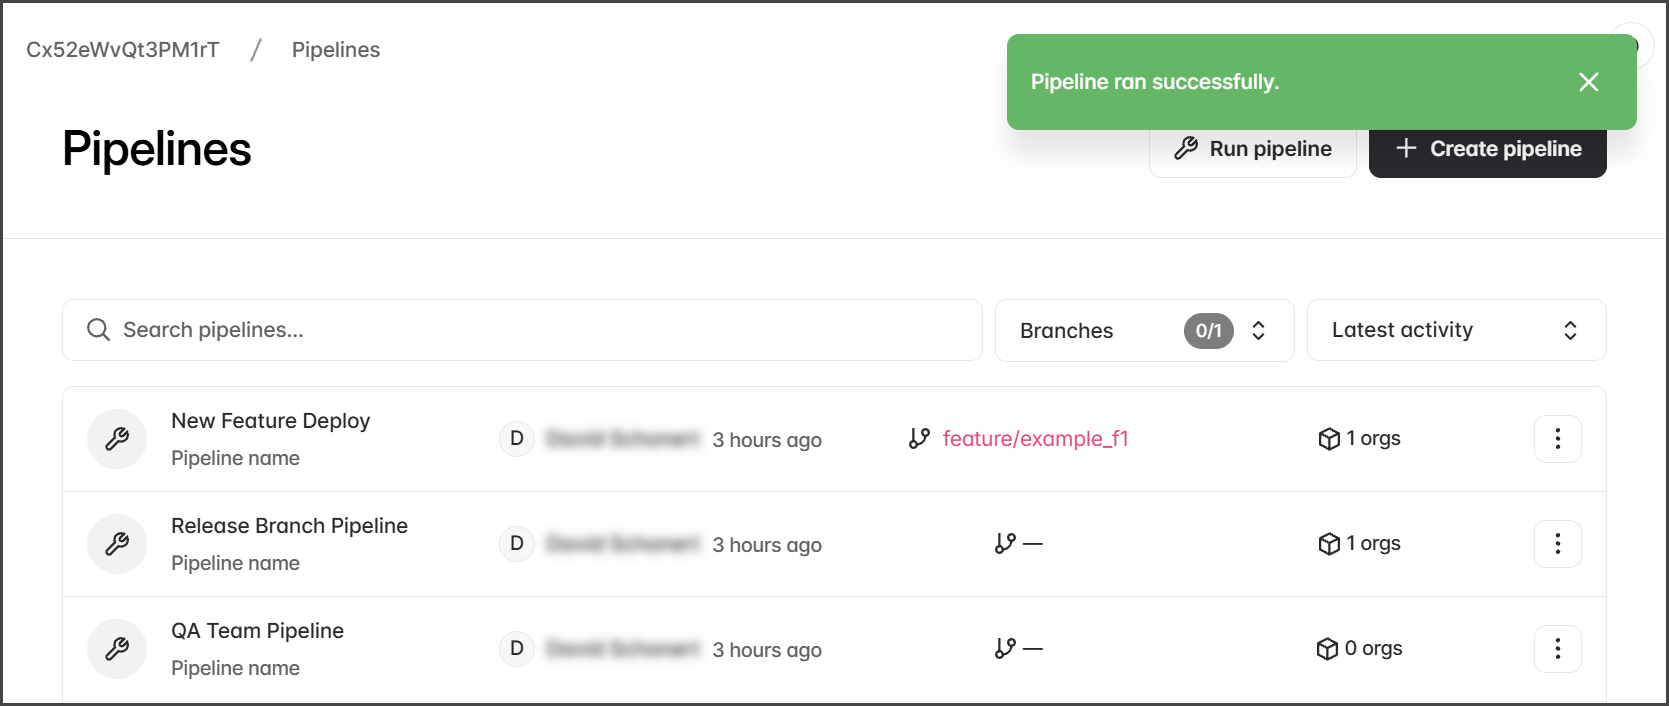
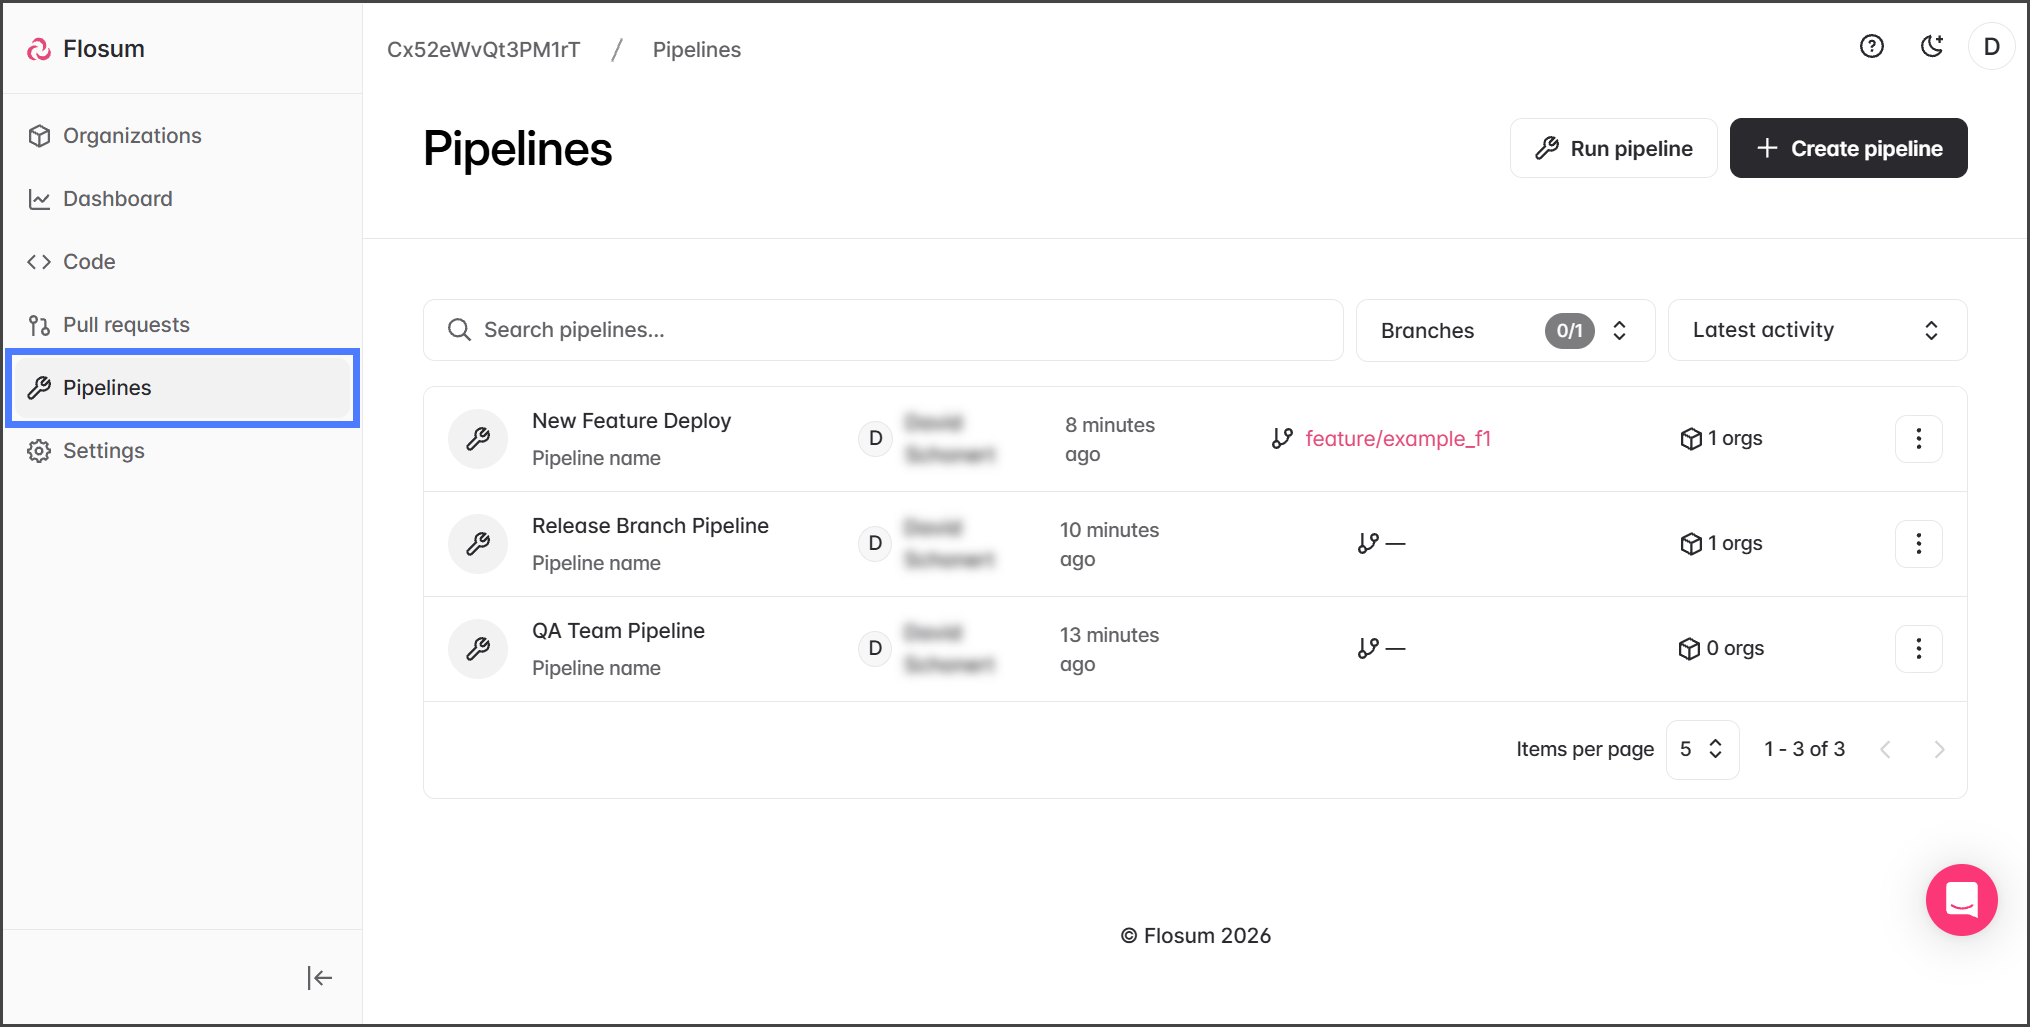
Overview of Pipelines

Overview

Pipelines in Flosum allow you to automate the process of moving changes between environments. A pipeline connects a branch to one or more organizations and defines the steps for validation, testing, and deployment.

The Pipelines page provides a searchable list of all available pipelines along with their metadata, making it easy to track activity and manage automation.

circle-info

Best Practices

  • Name pipelines by purpose (e.g., Release-Branch-Pipeline, QA Team Pipeline).

  • Connect only required orgs to reduce unnecessary runs.

  • Use branches strategically – tie pipelines to stable integration or release branches.

  • Review activity logs regularly to track deployment health.

  • Run pipelines after PR approvals to ensure code quality and conflict resolution before promotion.

Pipelines Page

When viewing the Pipelines page, the following details are displayed:

Pipeline Name

The name assigned to the pipeline.

Created By

The user who created the pipeline.

Last Activity

The time since the last execution or update of the pipeline.
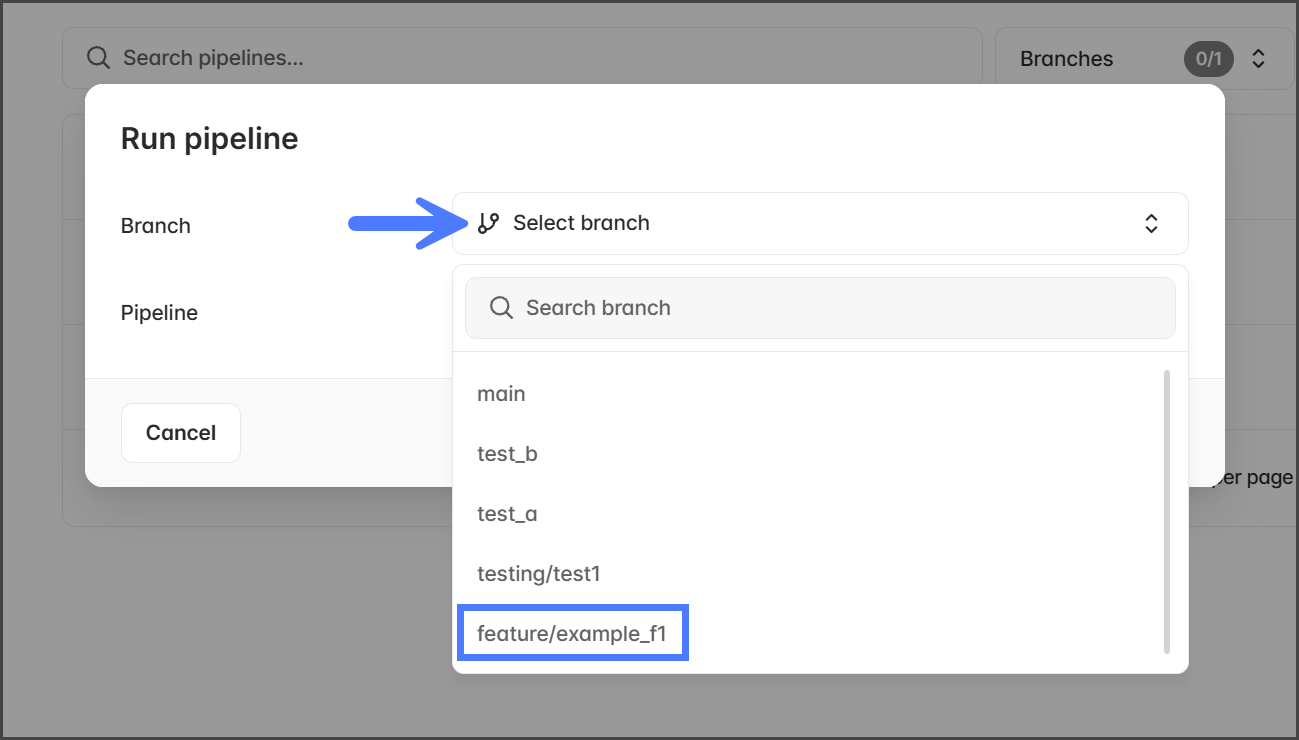
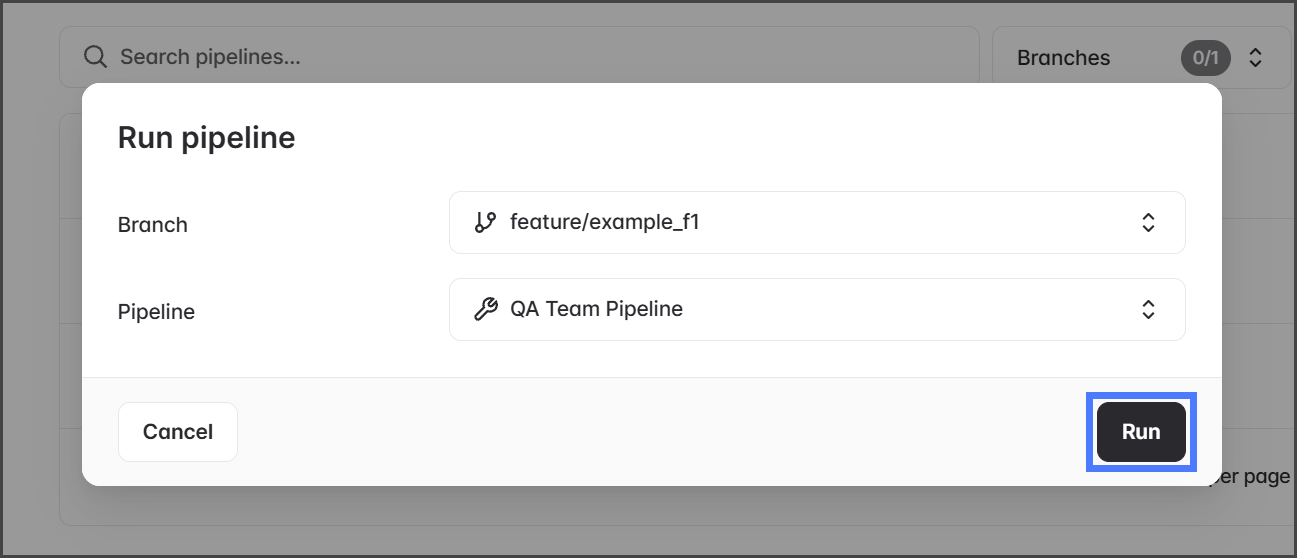
Branch

Specifies the branch that triggers the pipeline automatically. If Automatic Launch is off, this field will be blank.

Organizations

The number of different organizations assigned to steps in the pipeline.
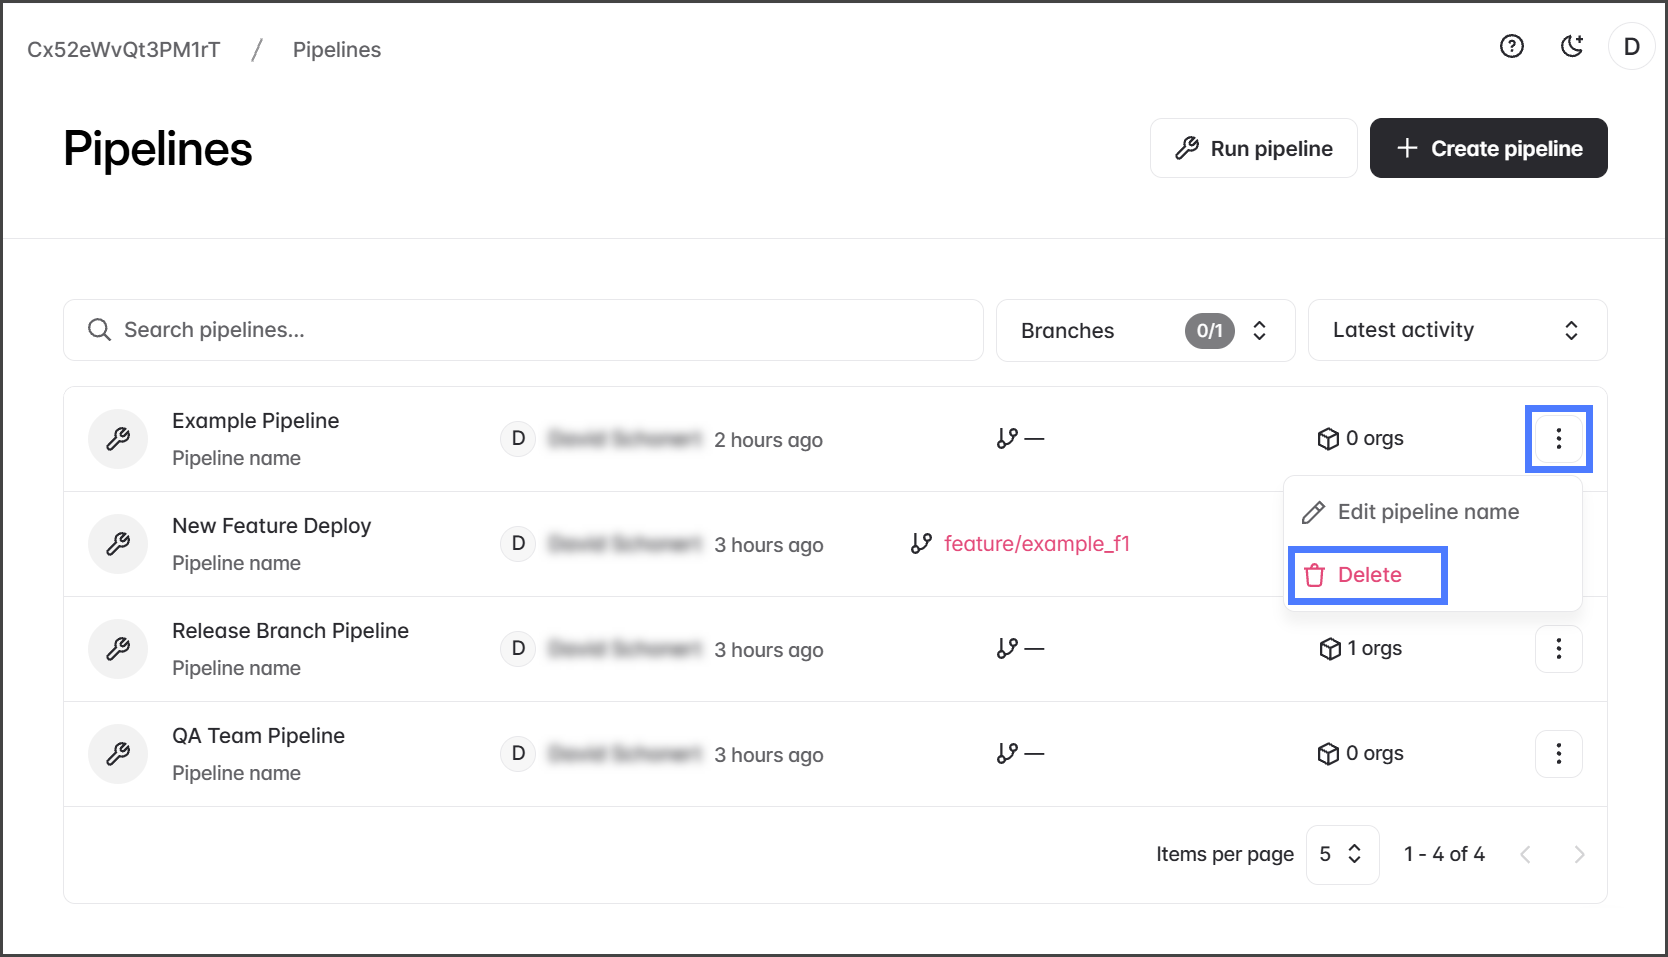
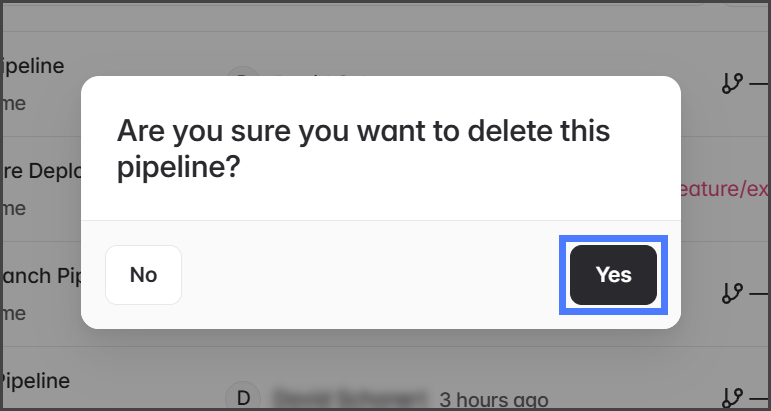
Actions (⋮)

Pipeline options: Edit pipeline name and Delete.

Searching, Sorting, and Filtering

The Pipelines page can be searched, filtered, and sorted:

  • Search – Find pipelines by name.

  • Branches – Filter by associated branches.

  • Latest Activity – Sort pipelines by:

    • Sort by name A–Z – alphabetical order.

    • Sort by name Z–A – reverse alphabetical order.

    • Latest activity – most recent updates first.

    • Oldest activity – oldest updates first.

Pipeline Actions

The following pipeline actions are all accessible from the Pipelines page:

  1. Click Pipelines from the left sidebar menu.

1

Creating a Pipeline

  1. Click Create pipeline.

  2. Enter a name for the pipeline in the Pipeline name textbox.

  3. Click Create pipeline.

circle-info

Once a pipeline is created, you can configure it by adding steps. See the following article for more instructions.

2

Running a Pipeline

  1. Click Run pipeline.

  2. Click the Branch dropdown menu.

  3. Select the branch to run the pipeline from.

  4. Click the Pipeline dropdown menu.

  5. Select the pipeline to run.

  6. Click Run.

  7. After clicking Run, the pipeline job starts, and a Pipeline ran successfully message is displayed.

circle-exclamation
circle-info

Pipeline Results

Viewing a pipeline's progress and results is done from the branch on which the pipeline was run. See the following article for instructions on viewing a pipeline's results.

3

Deleting a Pipeline

circle-exclamation

Warning

circle-info

A pipeline can also be deleted when in the pipeline editor, by selecting Delete in the upper-right menu.

  1. Click the Three Dot menu for the pipeline to delete.

  2. Click Delete.

  3. Click Yes in the Delete Pipeline confirmation dialog box.

Pipeline Editor

When you click a pipeline, the pipeline editor opens. This tool lets you set up the steps in your pipeline and configure Automatic Launch options. For further details on pipeline configuration, refer to these articles.

Last updated

Was this helpful?